DeletedUser
Guest
Hi to all. This is a simple guide to help people with GIMP start creating their own signatures. This guide is not comprehensive and it will not show you how to make brilliant signatures, it will hopefully provide you the tools to do so.
This is obviously very image heavy. So it might take some time to load. That is why spoilers have been put there.
Forum rules:
No obscenity, max size 700x120 pixels
Starting off:
The first rule to good signature making is a theme. When people request signatures they are required to say what they want. Many people pick a favourite character from a game or a film, while others ask for something to do with grepolis.
Here are a few examples of signatures I have made using GIMP, the styles are completely different for each person I make a signature for. Every signature maker has a different style which appeal to different people. Your style will be your own and this is a good reason to make your own sig.


Other signatures I have Made
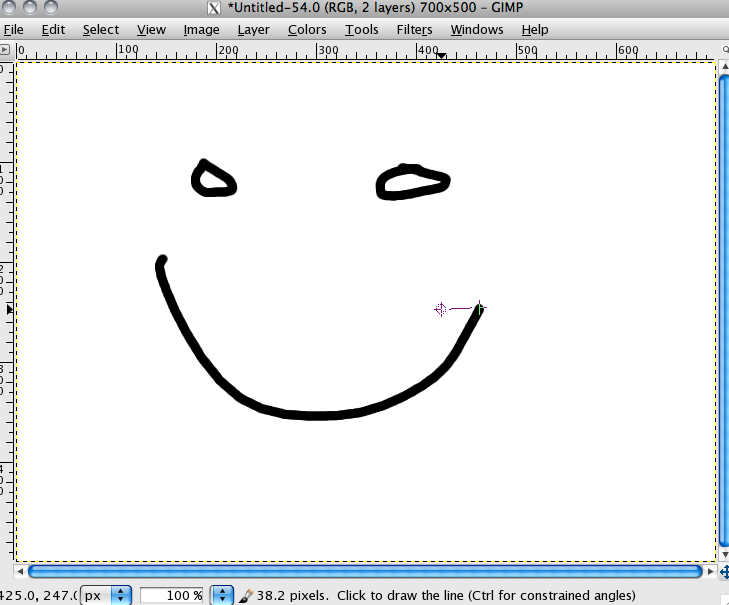
For this tutorial you will need to download GIMP
It is multiplatform and I am on a mac so some screenshots may be different to your version but I will try and help if I can get to a PC.
GIMP saves files as .xcf To upload to a image hosting website change to .png or .jpeg
Drop Shadow:
This is obviously very image heavy. So it might take some time to load. That is why spoilers have been put there.
Forum rules:
No obscenity, max size 700x120 pixels
Starting off:
The first rule to good signature making is a theme. When people request signatures they are required to say what they want. Many people pick a favourite character from a game or a film, while others ask for something to do with grepolis.
Here are a few examples of signatures I have made using GIMP, the styles are completely different for each person I make a signature for. Every signature maker has a different style which appeal to different people. Your style will be your own and this is a good reason to make your own sig.
Other signatures I have Made
For this tutorial you will need to download GIMP
It is multiplatform and I am on a mac so some screenshots may be different to your version but I will try and help if I can get to a PC.
GIMP saves files as .xcf To upload to a image hosting website change to .png or .jpeg
Drop Shadow:
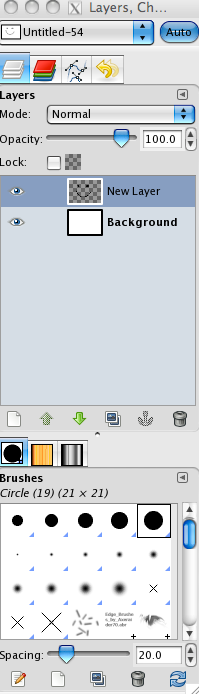
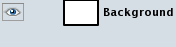
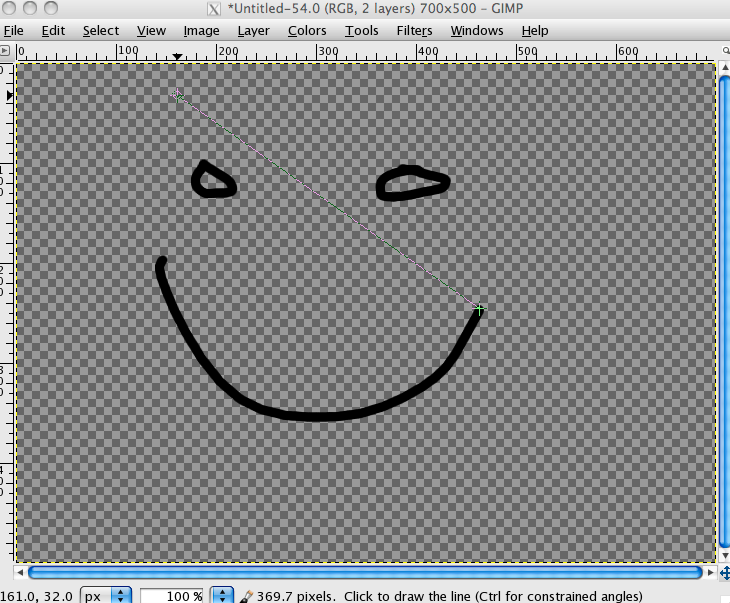
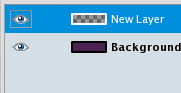
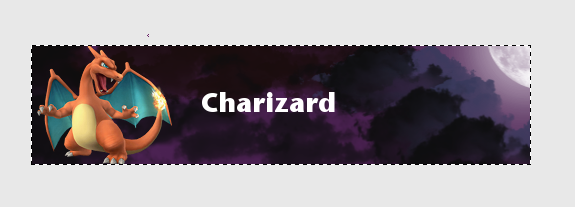
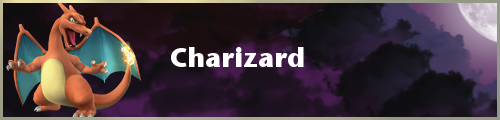
This tool creates a new layer. It creates a shadow of a selected layer, you can change the position/colour/opacity and size. It is important to select the right layer. Here you can see a before and after shot of the drop shadow. You also see in the layers tab how the drop shadow created a new layer. If it had all been one layer then The drop shadow would be of the whole picture which is not a good effect

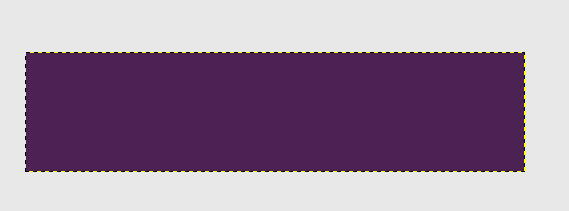
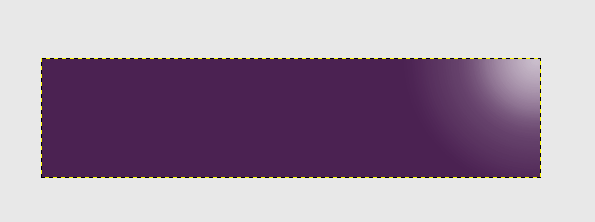
The original image.
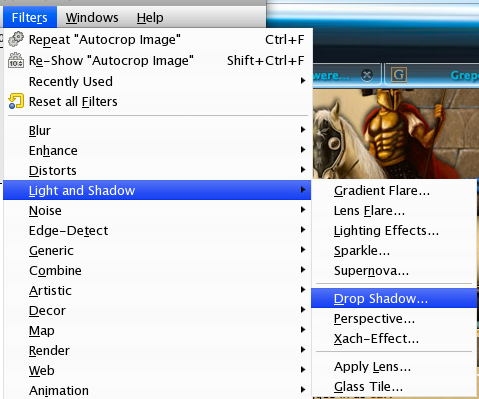
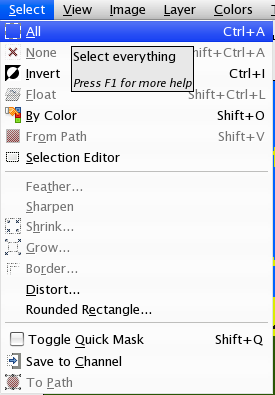
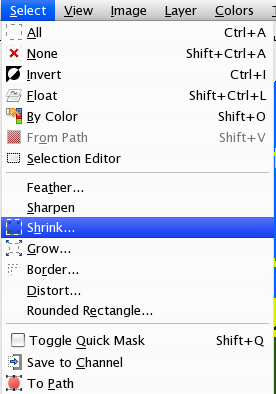
This is how to get to drop shadow on a mac, it should be similar on linux or windows.
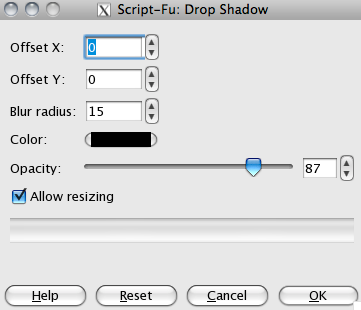
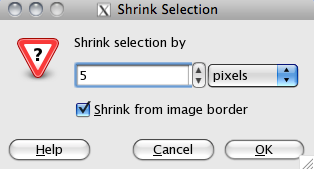
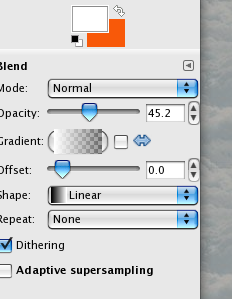
Drop shadow toolbar.
Offset y and x to create depth.
Colour is generally black but experiment with it.
Opacity is how much it shows basically. I just picked a random value here.

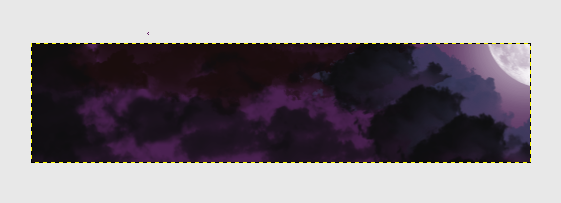
With drop shadow

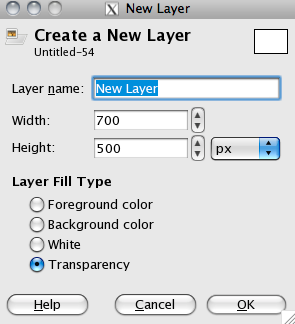
new layer created
The original image.
This is how to get to drop shadow on a mac, it should be similar on linux or windows.
Drop shadow toolbar.
Offset y and x to create depth.
Colour is generally black but experiment with it.
Opacity is how much it shows basically. I just picked a random value here.
With drop shadow
new layer created
Last edited by a moderator:


")