DeletedUser18825
Guest
In this tutorial, I will teach you how to make yourself a simple CoA (this is mainly for beginners) so that you don't keep bugging us artists about it. xD
Anyway, you can probably do this with gimp, but you'd have to figure some stuff out.
This is for beginner's who have photoshop.
Keep in mind that I probably have a different version than you. So, you'll have to figure out some things on your own. Sorry about that.
1. Starting Off
First, open up Photoshop (any version) and create a new template. Make the size 240x180 pixels. Click Ok.
Go to the Custom Shape tool.
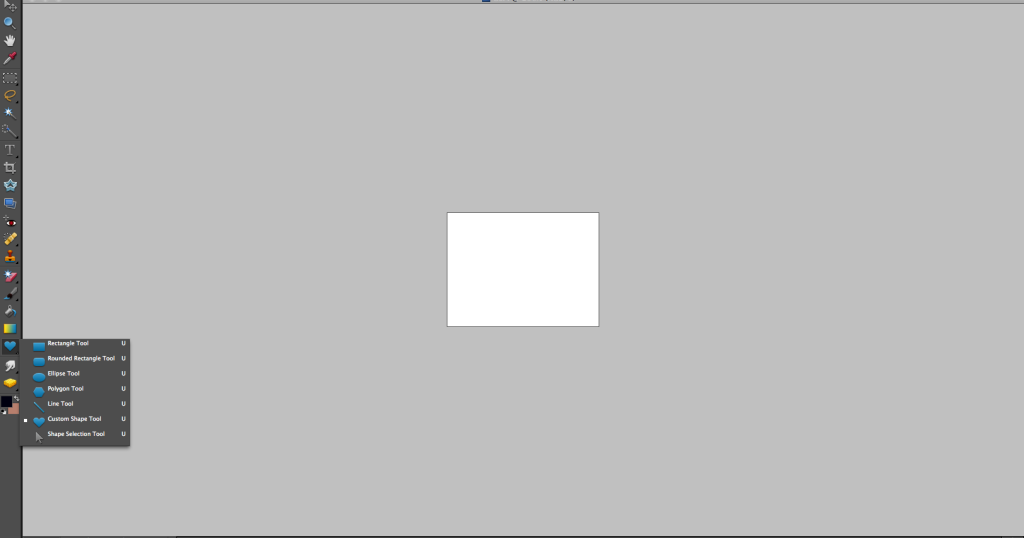
Go to the top toolbar of the screen and select the Shape. Make it Rounded Square.
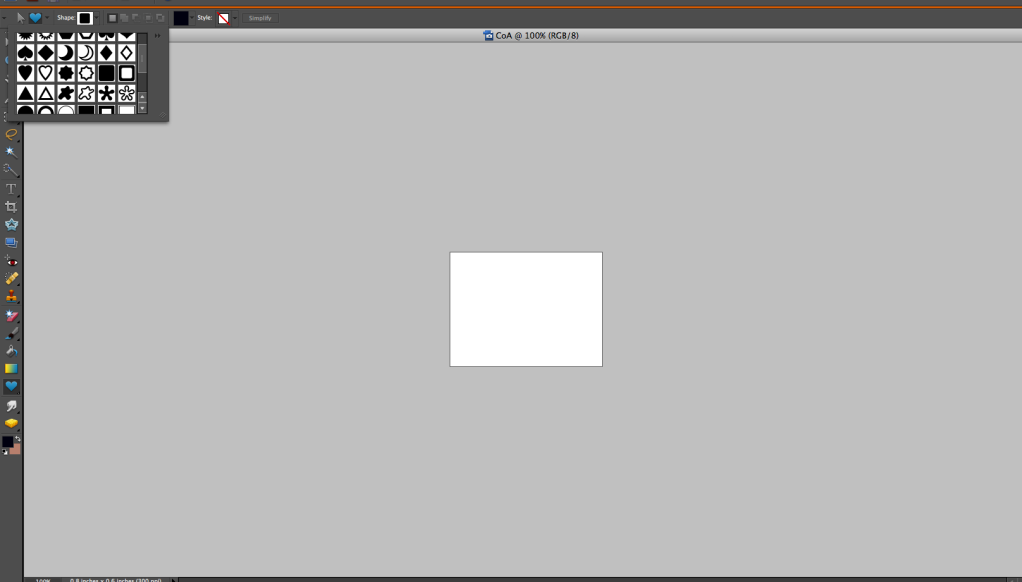
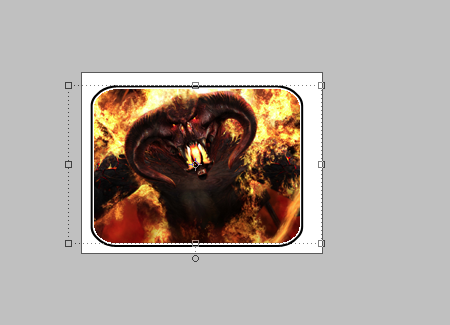
Click and drag from one corner of the picture to the other. It should end up like this:
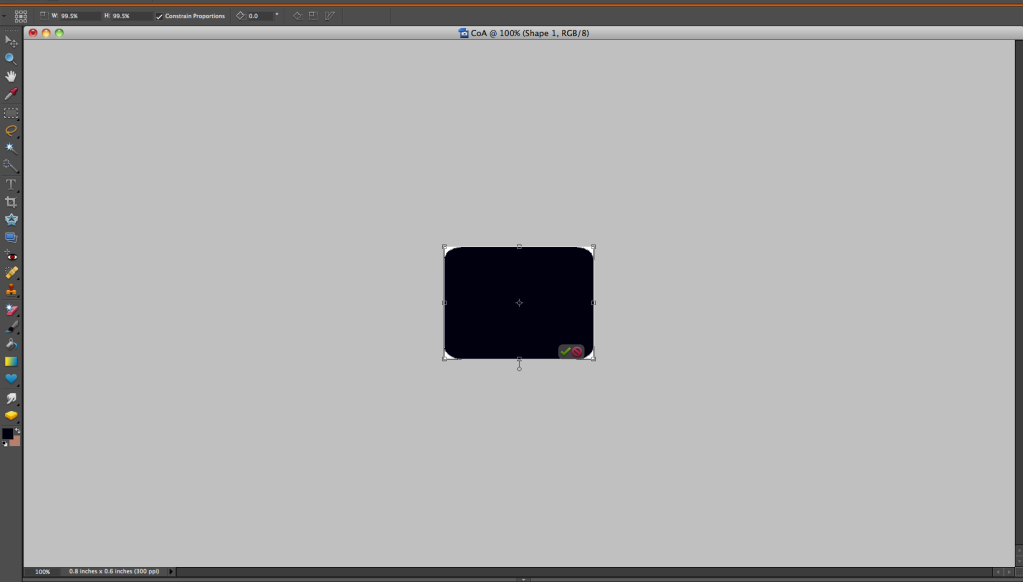
Click and resize the rounded square so it looks like this:
2. Adding a Cool Gradient
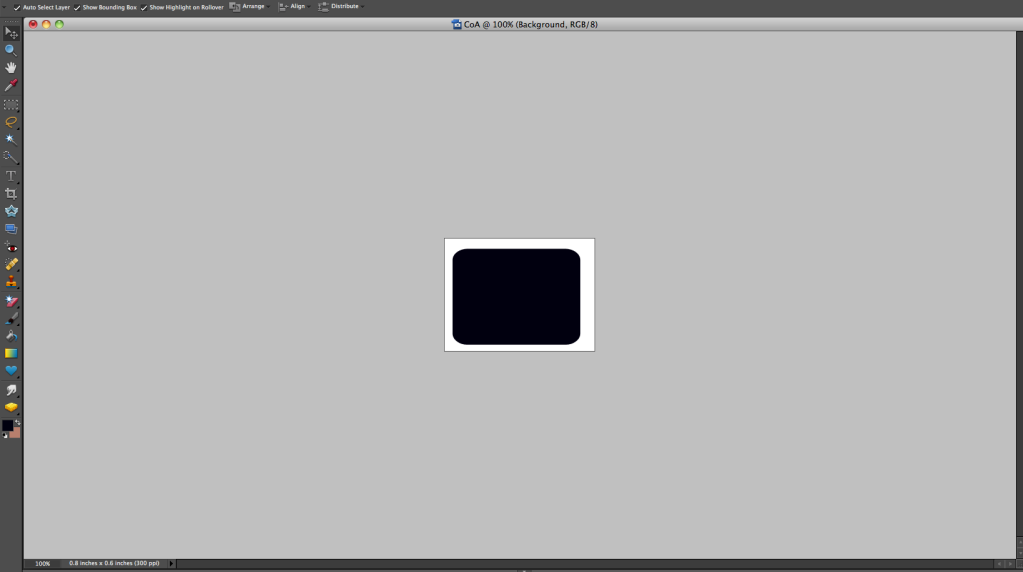
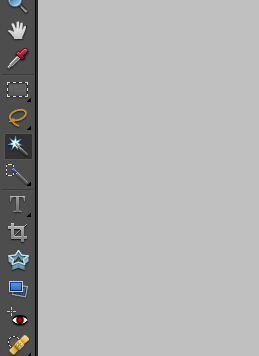
Click on the Magic Wand tool.
Then, click on the rounded square. It should highlight like this:

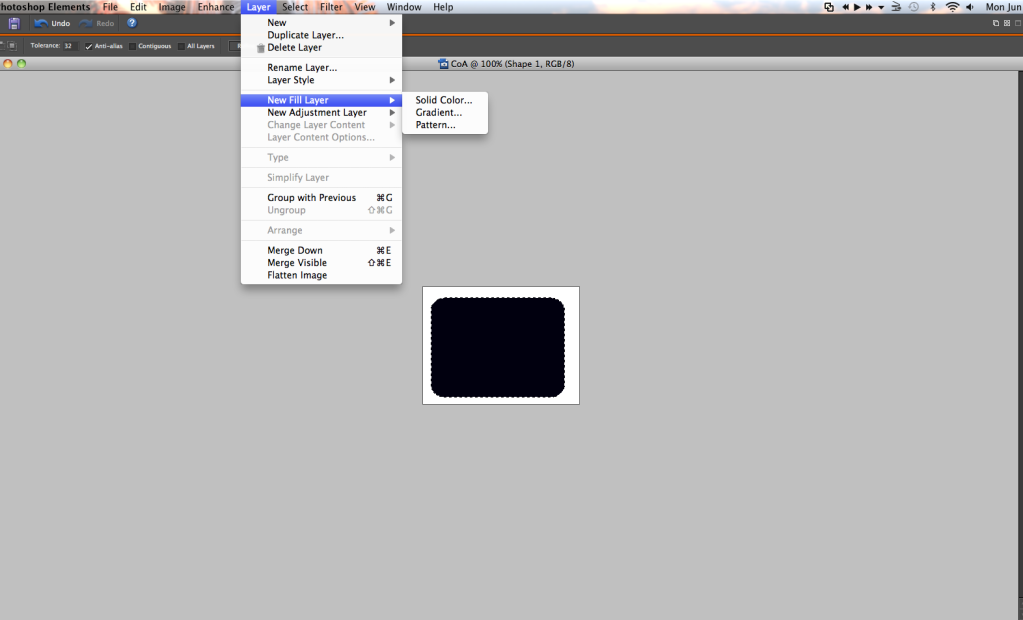
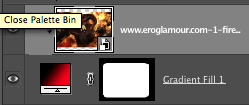
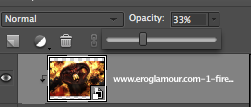
With it still highlighted, go to Layer>New Fill Layer>Gradient
A little window will pop up.
Click in Gradient in the box. Another window will pop up.
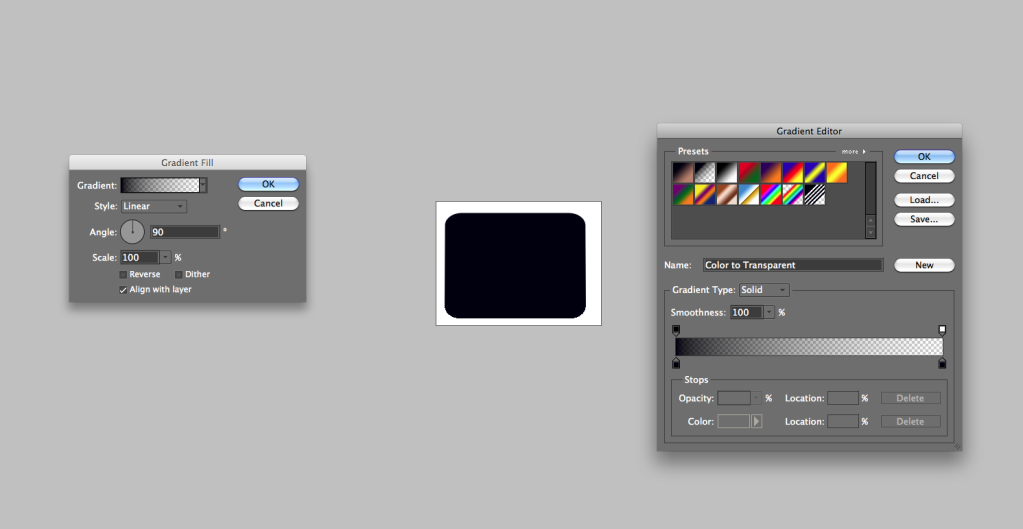
Select the black and white gradient.

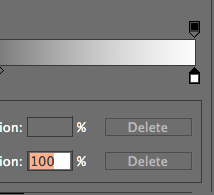
Click on the small white square.
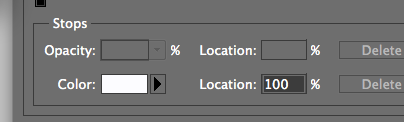
Then, click on the white Color box.
A new window will pop up. Select any color that you like. Click OK
I chose red, so it made the top part of the gradient red.
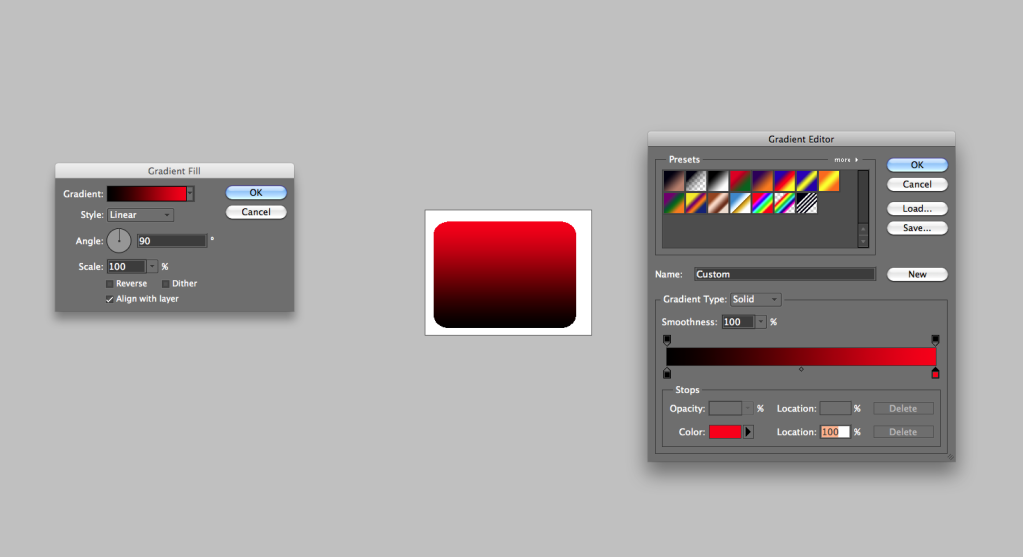
Click OK on both of the windows.
3. Outlining It
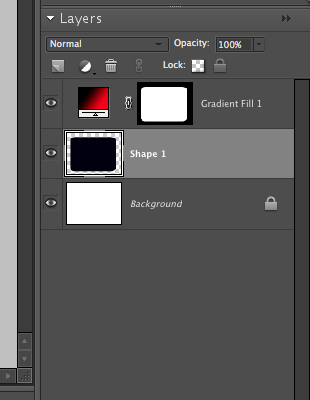
Next, you need to select the layer called Shape 1.
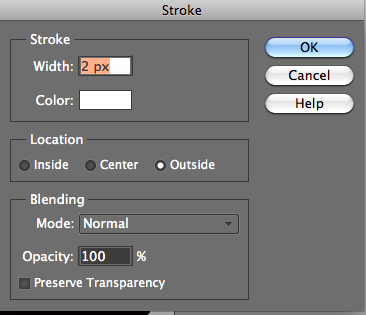
Go to File>Stroke (Outline) Selection...
A window will pop up.

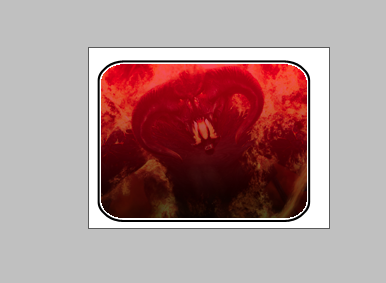
Click the Color box and choose a white or light grey color. Make it 2 pixels as shown.
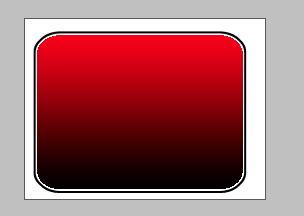
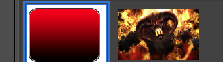
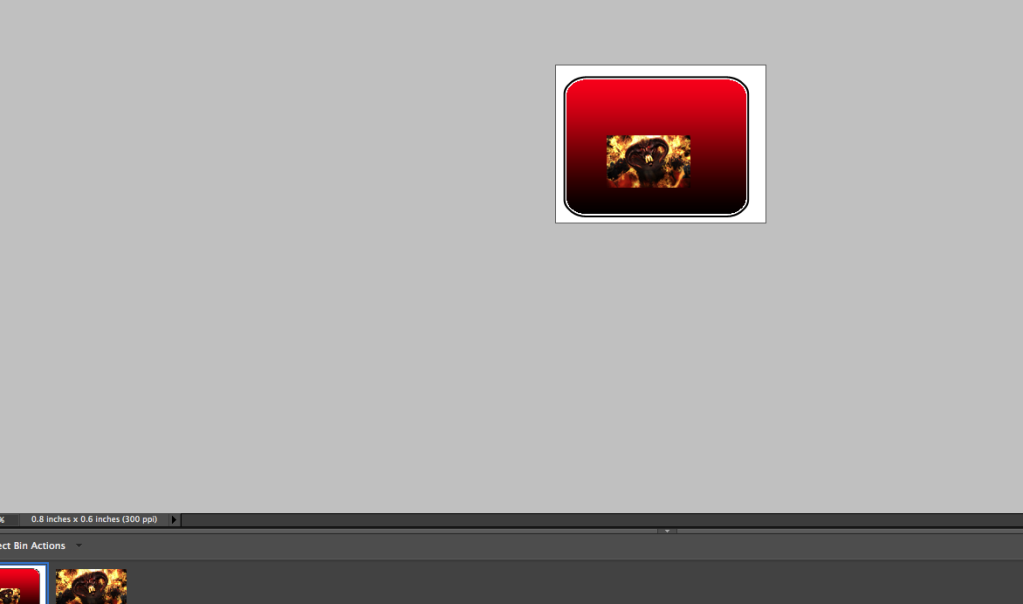
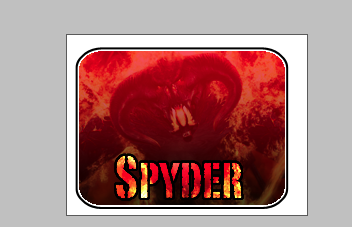
Now, go back and repeat the above process, but this time make it a black color instead of white. It will look like this when done:
Continued on next post...
Anyway, you can probably do this with gimp, but you'd have to figure some stuff out.
This is for beginner's who have photoshop.
Keep in mind that I probably have a different version than you. So, you'll have to figure out some things on your own. Sorry about that.
1. Starting Off
First, open up Photoshop (any version) and create a new template. Make the size 240x180 pixels. Click Ok.
Go to the Custom Shape tool.
Go to the top toolbar of the screen and select the Shape. Make it Rounded Square.
Click and drag from one corner of the picture to the other. It should end up like this:
Click and resize the rounded square so it looks like this:
2. Adding a Cool Gradient
Click on the Magic Wand tool.
Then, click on the rounded square. It should highlight like this:
With it still highlighted, go to Layer>New Fill Layer>Gradient
A little window will pop up.
Click in Gradient in the box. Another window will pop up.
Select the black and white gradient.
Click on the small white square.
Then, click on the white Color box.
A new window will pop up. Select any color that you like. Click OK
I chose red, so it made the top part of the gradient red.
Click OK on both of the windows.
3. Outlining It
Next, you need to select the layer called Shape 1.
Go to File>Stroke (Outline) Selection...
A window will pop up.
Click the Color box and choose a white or light grey color. Make it 2 pixels as shown.
Now, go back and repeat the above process, but this time make it a black color instead of white. It will look like this when done:
Continued on next post...
Last edited by a moderator:


")