DeletedUser
Guest
Gimp Guide
For Advanced Users
For Advanced Users
Smudge Effects
Simple Effects
Advanced Effects
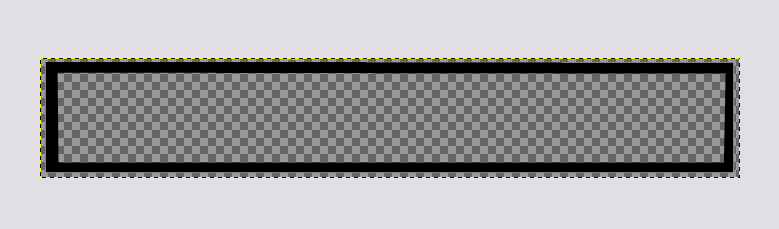
First Let's Start Off With This Template That I Prepared Earlier
Then Smudge In Various Directions
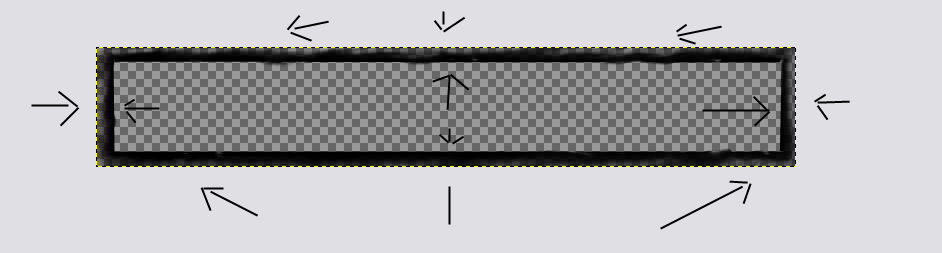
The Finished Effect Should Look A bit like this. Gradients Work Better though.

Then Smudge In Various Directions
The Finished Effect Should Look A bit like this. Gradients Work Better though.
If You have an Image you really want to turn into a sig but it's like my phoenix this should help you.
Let's Start Off With This Unfinished Template

You'll have to get the image you want put it on your sig then get the outer colour and fill the blank space with it
Fill The Blank Space With A Colour From Your Image Like So

Use The Smudge Tool To Blend The Colours Together. It might take a while as you will have to go over it with colours and blend again.
Heres The Finished

Let's Start Off With This Unfinished Template
You'll have to get the image you want put it on your sig then get the outer colour and fill the blank space with it
Fill The Blank Space With A Colour From Your Image Like So
Use The Smudge Tool To Blend The Colours Together. It might take a while as you will have to go over it with colours and blend again.
Heres The Finished
Text Effects
Gradients
Varying Colours
Let's Start Off With Some Green Text

Add a gradient over the text is any direction

Erase everything but the text then paste it on to your sig

Add a gradient over the text is any direction
Erase everything but the text then paste it on to your sig
First write your text
then add desired variation colours using spray paint, dodge and burn
you should end up with something like this

then add desired variation colours using spray paint, dodge and burn
you should end up with something like this
New Version (Even more advanced stuff)
Last edited by a moderator:
")
